Every companies needed some sort of chatting facility which
helps the users to communicate each other. Today let us have a look at how to
create a free chat server which enables us to send text messages,files etc.
Step 1
Installing ignite real time’s openfire – an open source RTC
server which is widely using for instant messaging.
Using any ssh client connect to your Centos as root, I personally
use Putty for the same.
Installing
dependencies
Issue the command
# yum -y install wget
java glibc.i686
This will take some time to install the dependencies
required for openfire.
Step 2
Now it is time to download and install the RPM of openfire,
you can download it from here.
Or use the following command, don’t forget to choose the latest
version.
#
wget http://download.igniterealtime.org/openfire/openfire-3.9.3-1.i386.rpm
Installing
the RPM
# rpm -ivh openfire-3.9.3-1.i386.rpm
Start the openfire service
# service openfire start
Step 3
We are using MySQL as database for openfire. Let us install MySQL and create required database for openfire.
Installing mysql server
# yum -y install mysql-server
Starting mysql server
# /sbin/service mysqld start
Demonize mysql server
# /sbin/chkconfig mysqld on
Do the basic mysql secure install
# /usr/bin/mysql_secure_installation
hit “enter” to give no password
give a new root password
hit “enter” on the rest of the questions
Restart mysql server
# /sbin/service mysqld restart
# mysql -uroot -p
mysql> CREATE DATABASE openfire;
mysql> GRANT ALL on openfire.* to 'openfire'@localhost IDENTIFIED BY 'urpassword';
mysql> FLUSH PRIVILEGES;
Restart Openfire service
# /etc/init.d/openfire restart
You have to make sure that iptables is not running.
# /etc/init.d/openfire stop
Step 4
Now it is time to configure the openfire web interface.
Launch a web browser
http://ipaddress/hostname:9090
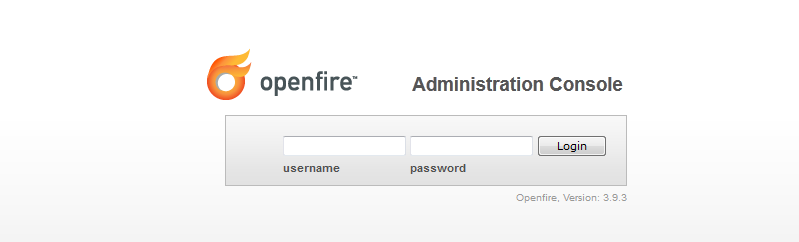
You will get the openfire web interface
Choose your preferred language and continue
Enter the preferred domain name and click continue.
For database settings ,choose "standard database connection"
Choose MySQL
- For database url : enter your host name and database name
- Enter the database username and password that we created earlier.
- Click continue
For profile settings Choose default and continue.
After that you will get a screen there you can enter your admin mail id and password please do that and press continue
Wow the setup is completed and you can access the admin console of openfire.
- Enter your admin username and password.
Choose users and groups from where you can create users and groups.
Our Openfire chat server installation has been completed.
There are many chat clients that we can use to configure with openfire.I am here using Spark chat client you can download
from here.
Download and install in your machine.
It is simple to configure
Just enter Username (That you have to create in openfire users)
Password
Server : IP/domain name of the openfire server.
Thanks for reading the article.I am preparing a tutorial on enabling Audio/Video chat with openfire. STAY TURNED!!!!